Creating custom playing card printing at home can be both fun and practical for game designers, teachers, and hobbyists alike. Microsoft Word provides an accessible platform for designing and printing your own playing cards without specialized software. This comprehensive guide will walk you through the entire process from setup to final production.
Setting Up Your Document
Before diving into design, you need to establish the correct document settings:
- Open Microsoft Word and create a new document
- Set the page orientation to landscape for traditional playing card layouts
- Adjust margins to minimum settings (typically 0.25 inches) to maximize usable space
- Create a table structure to organize your cards efficiently on the page
Designing Your Playing Cards
The design phase is where your creativity comes into play:
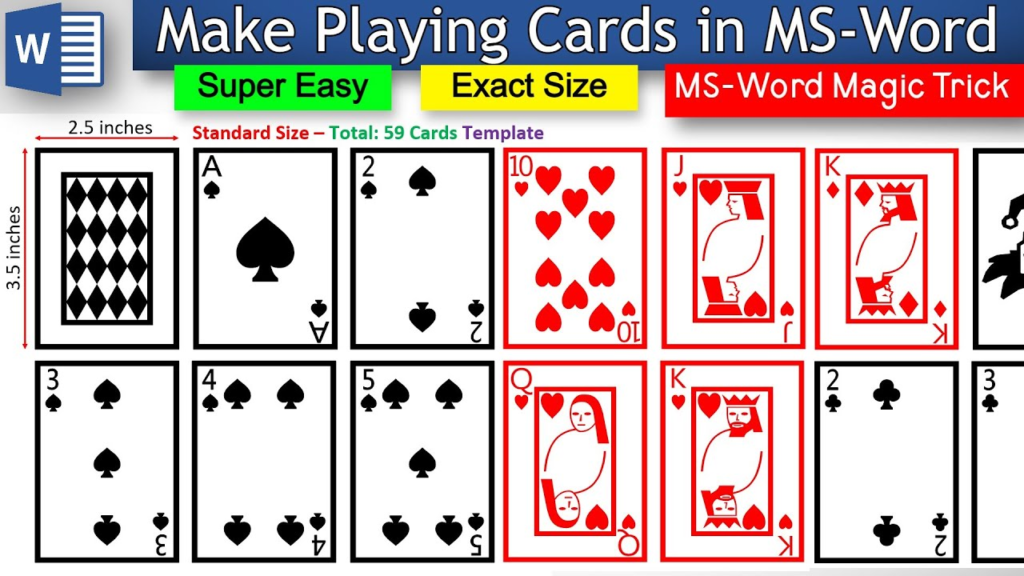
- Determine your card size (standard poker cards are 2.5 × 3.5 inches)
- Create a table with cells matching your desired card dimensions
- Insert shapes, images, and text to build your card design
- Consider adding:
- Card numbers/letters
- Suit symbols
- Decorative borders
- Center illustrations
Adding Card Elements
Recommended Reading: How to Print Playing Cards in Word
For professional-looking playing cards:
- Use the "Insert" menu to add shapes, symbols, and images
- Create symmetrical designs for traditional playing cards
- Use text boxes for positioning numbers and letters precisely
- Group design elements together to maintain consistency between cards
Using Templates for Efficiency
To streamline the process:
- Design one card completely
- Copy and paste the design to create a template
- Modify individual elements for different cards while maintaining consistent formatting
- Save your template for future projects
Printing Considerations
To achieve the best results:
- Select quality cardstock (110 lb or higher is recommended)
- Use a printer capable of handling thicker paper
- Run a test print on regular paper first to check alignment
- Consider duplex printing if your printer supports it for double-sided cards
Final Assembly
After printing:
- Cut cards carefully using a paper trimmer for straight edges
- Round the corners with a corner punch for a professional look
- Consider laminating or using card sleeves for durability
- Allow ink to dry completely before handling extensively
Troubleshooting Common Issues
If you encounter problems:
- Adjust printer settings if colors appear different than on screen
- Fix alignment issues by adjusting table cell spacing
- Resolve paper jams by using the recommended paper weight for your printer
- Address image quality problems by using higher resolution graphics
Creating playing cards in Word allows for personalization while being accessible to users of various skill levels. With patience and attention to detail, you can produce quality cards for games, educational activities, or special occasions.
Leave a Reply